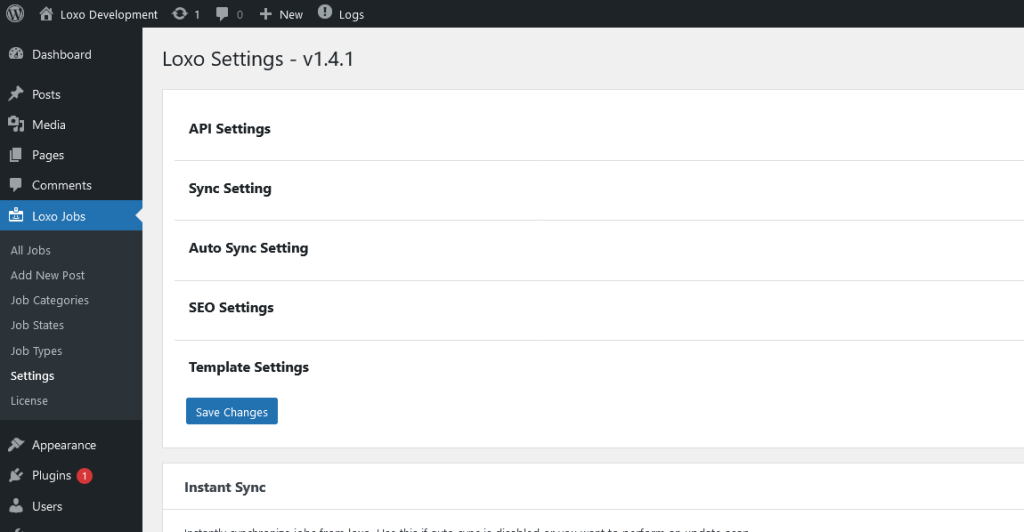
Plugin configurations can be performed through plugin settings page.
Find the Loxo Jobs menu under wp admin admin menu.

On the page, you will find settings options. Each of the field contain brief what it does.
API Settings
Agency Key
This is your loxo agency slug. Contact loxo to find this information.
API Token
Login to your loxo account, go to settings, and click on API Keys. If you don’t see that section for you account, please contact loxo support team to enable API key access.

Sync Setting
Active Jobs Only
Check this option if you want to display active jobs only.
Published Jobs Only
Check this option if you want to display published jobs.
Batch Size
Leave this empty.
Max Pages
This defined how many jobs we are pulling in a single request from loxo. Leave the default value.
Auto Sync Setting
Auto Synchronize
We import and synchronize jobs from loxo to your WordPress website. This can be done manually or automatically. If This option is enabled, the plugin will pull information automatically at given interval using WordPress CronJob.
Auto Sync Interval
Enter a minute value as interval to run auto sync.
SEO Settings
Default job validity (in days)
This is the default job expiration date. It’s only used for job schema generation.
Hiring Company Name
This should be your company or website name. This data is used on job schema to let search bot know about the organization.
Hiring Company Url
Hiring Company Logo
Enable Jobs Sitemap?
If you are not using any seo/sitemap generator plugin, enable this option. This will generate a job xml sitemap.
Enable Jobs Feed?
Enabling this option will generate RSS job feed.